
It is an important task of every IT engineer to monitor IIS Application Pools. An IIS application pool is a pool—i.e., a collection—that houses applications on IIS. Each application pool consists of a process called w3wp.exe that runs on the server machine.
For some reason, application pools might stop running. That is why the below PowerShell script can be used to list running and stopped application pools and then either start the stopped pools or do your analysis to ensure this issue does not occur again.
The WebAdministration module to Monitor IIS
Once IIS is installed, we need to import the WebAdministration module to interact with IIS (using Import-Module WebAdministration). Using the Get-Command cmdlet to find the Get- cmdlets in the module is a good way to get an idea about what the module allows us to work with:
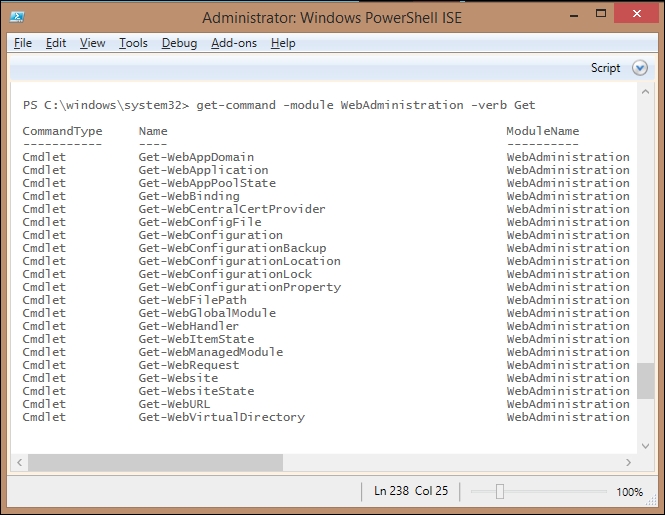
Here, we can see that we have cmdlets to deal with sites, virtual directories, applications, bindings, configuration, and much more. Another thing that is worth mentioning at this point is that the WebAdministration module also adds a new PSProvider called WebAdministration and a PSDrive called IIS, which exposes a hierarchical view of the IIS installation.
PowerShell Script
$HostName = hostname
Set-ExecutionPolicy Bypass
Invoke-Command  -ComputerName $HostName {
Import-Module WebAdministration
set-Location IIS:\AppPools
$ApplicationPools = dir
$StoppedPools = "`n"
$StartedPools = "`n"
foreach ($item in $ApplicationPools)
{
$ApplicationPoolName = $item.Name
$ApplicationPoolStatus = $item.state

if($ApplicationPoolStatus -eq "Started")
{
$StartedPools += $ApplicationPoolName + "`n"
}

if($ApplicationPoolStatus -eq "Stopped")
{
$StoppedPools += $ApplicationPoolName + "`n"
}


#Write-Host "$ApplicationPoolName -> $ApplicationPoolStatus"

}

Write-Host "Started Pools " $StartedPools

if ($StoppedPools.length -ne 1)
{
Write-Host "Stopped Pools " $StoppedPools
}
else {"No stopped pools found"}

}
Set it up as a scheduled task to run at a periodic interval and you’re all set. PowerShell eventing might also be another possibility instead of a scheduled task if you want the script to be a little smarter.
Creating Tasks with Task Scheduler
Open Task Scheduler by pressing “Windows+R” and then typing “taskschd.msc” in the window that opens. Then take the following steps:
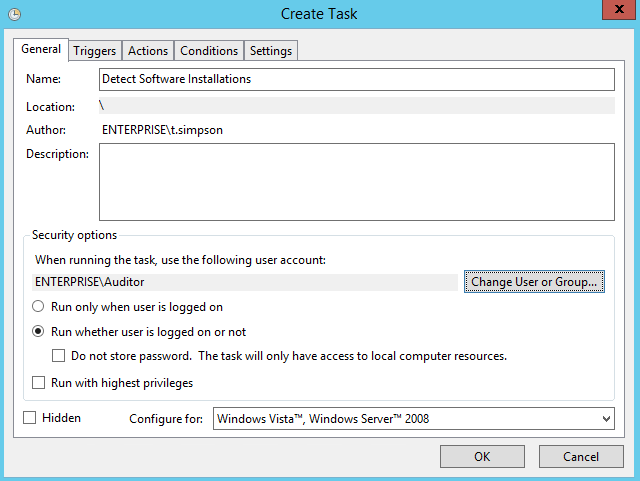
1. Click “Create a task” and enter a name and description for the new task. To run the program with administrator privileges, check the “Run with the highest privileges” box. In our example, we’ll assign a service account to run the task, and run it regardless of whether the user is logged on.
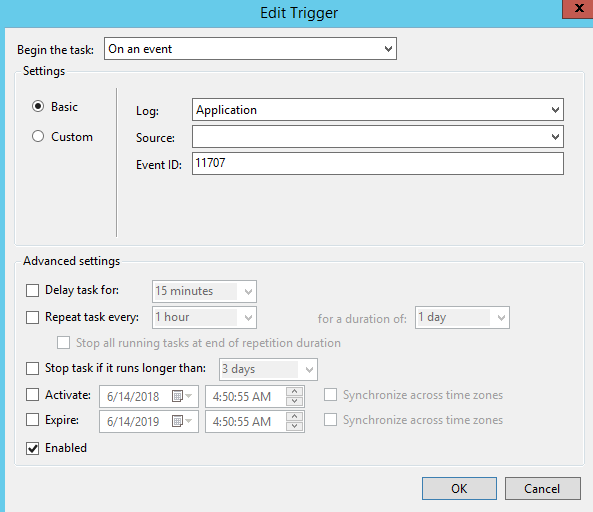
2. Switch to the Triggers tab and click the “New…” button. Here you can specify the conditions that trigger the task to be executed. For example, you can have it executed on schedule, at logon, on idle, at startup or whenever a particular event occurs. We want our task to be triggered by any new software installation, so we choose “On an event” from the drop-down menu and select “Application” from the Log settings. Leave the “Source” parameter blank and set the EventID to “11707”. Click “OK” to save the changes.
3. Navigate to the “Actions” tab, and click “New…”. Here you can specify the actions that will be executed whenever the trigger conditions are met. For instance, you can send an email or display a message. In our case, we want to start a program, so we need to create the PowerShell script we want to run and save it with the “ps1” extension. You can find the script here; it will send an alert with the event details about the installed software.
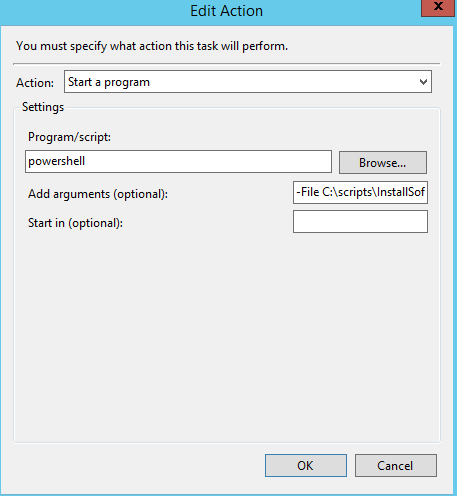
To schedule the PowerShell script, specify the following parameters:
- Action: Start a program
- Program\script: powershell
- Add arguments (optional): -File [Specify the file path to the script here]
Click “OK” to save your changes.
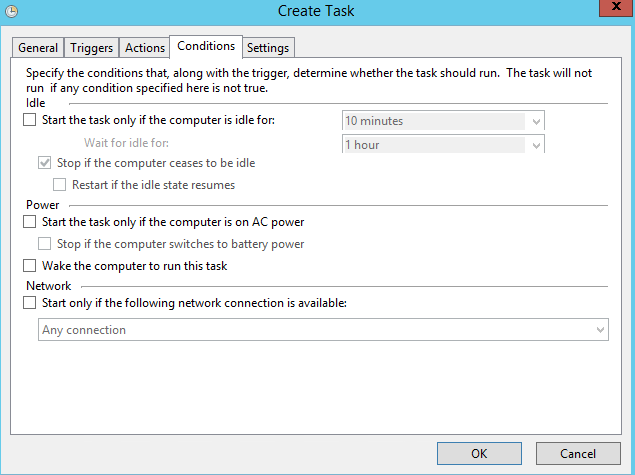
4. The “Conditions” tab enables you to specify the conditions that, along with the trigger, determine whether the task should be run. In our case, we should leave the default settings on this tab.
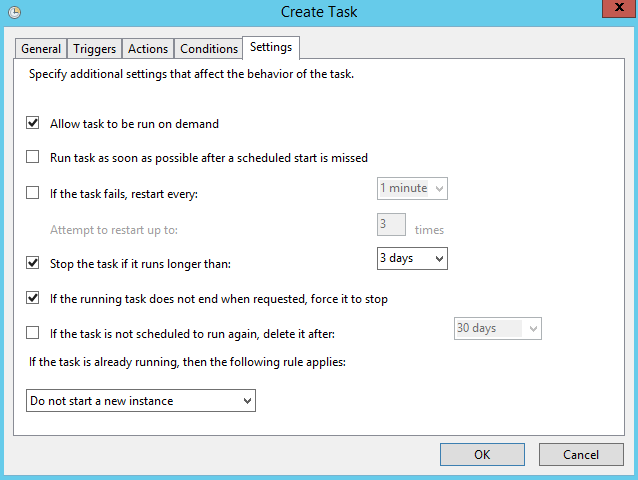
5. You can also set up additional parameters for your scheduled task on the “Settings” tab. For our example, though, we’ll leave them unchanged.
6. When the task is completely set up, the system will ask you for the service account password. Note that this account must have the “Log on as Batch Job” right. Enter the password and click “OK” to save the task.
7. For Task Scheduler to function properly, the Job Scheduler service must be set to start Run “Services.msc”. In the list of services, find Task Scheduler and double-click it. On the General tab, set the startup type to “Automatic” and click OK to save your change.
Now whenever new software is installed on your Microsoft Windows Server, you will be notified via an email that details the time of the installation, the name of the software and the user ID (SID) of the person who installed it.
Leave a Reply