
In this tutorial, we are going to see how we can serve a website hosted on an S3 bucket using Amazon CloudFront.
CloudFront is a an AWS content distribution service which allows you to speed up the distribution of your content globally, allowing your users to download your content from an edge location with the lowest latency.
- If the content is already in the edge location with the lowest latency, CloudFront delivers it immediately.
- If the content is not in that edge location, CloudFront retrieves it from an origin that you’ve defined—such as an Amazon S3 bucket, a MediaPackage channel, or an HTTP server (for example, a web server) that you have identified as the source for the definitive version of your content.
First, we are going to host a simple 1-page website on an S3 bucket. Then, we will deploy a CloudFront distribution that will allow us to take advantage of the CDN capabilities that this service offers.
We will also test how caching works and what you can do to ensure your users are fetching the most up-to-date files from your website.
1. Create S3 Bucket
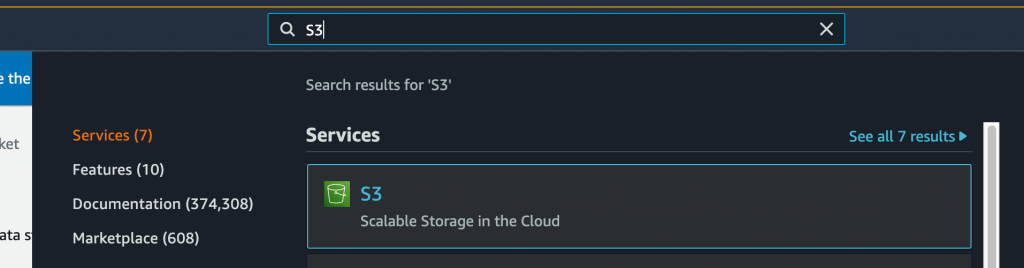
To create a new S3 bucket, go to the AWS Console and search for S3 to go to the S3 console.
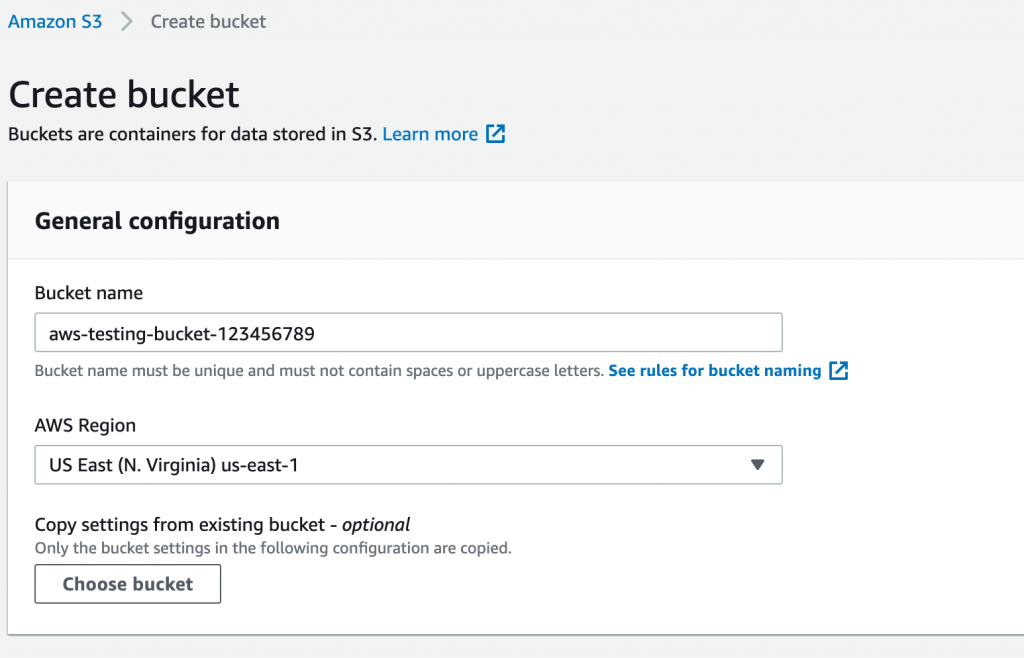
Click on Create bucket. Choose a unique name for your bucket, and a respective AWS region.
Leave all settings as default and click on “Create bucket”.
2. Enable “Static website hosting” feature
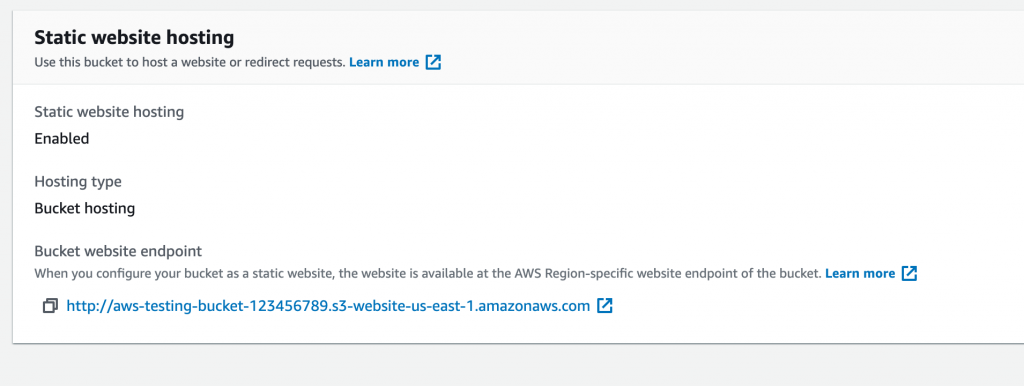
Next, we will enable the “Static website hosting” feature. Click on the newly created bucket and then go to Properties. Scroll all the way to the bottom, under Static website hosting click on Edit to enable this feature.
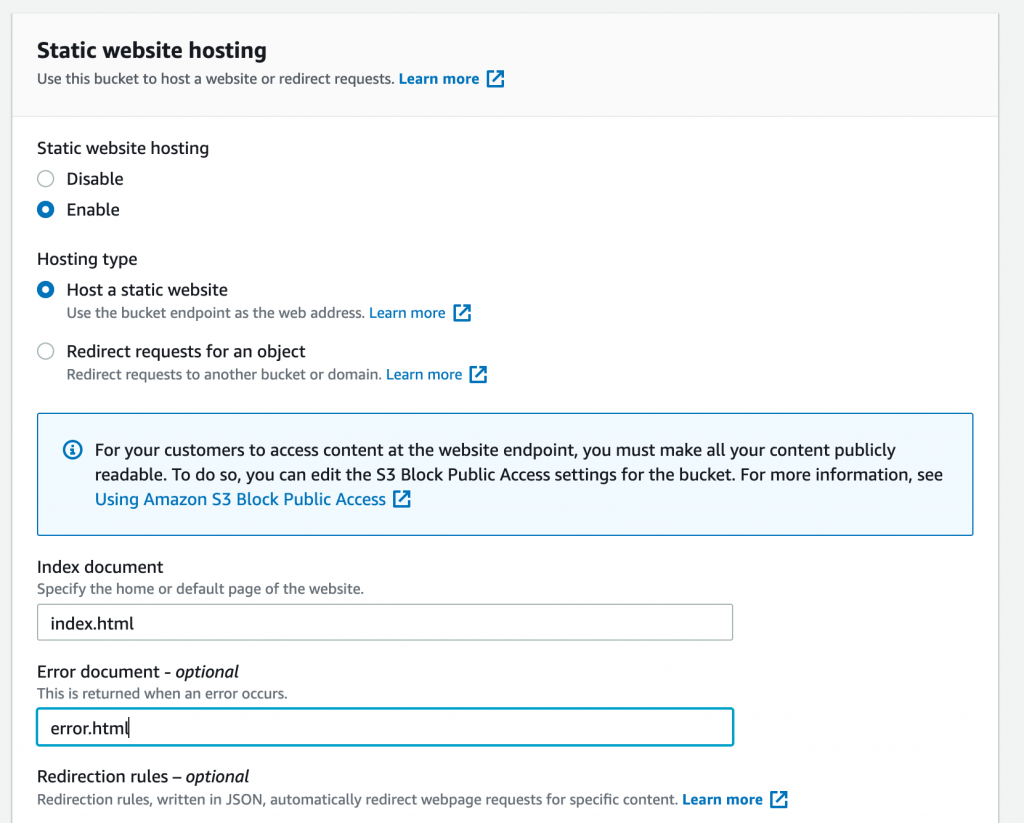
For the Index and Error documents, we will create our own index.html and error.html files which we will upload into the S3 bucket. Save the changes.
Create new files “index.html” and “error.html” with the below content, and upload those files to the S3 bucket we created earlier.
index.html
<!DOCTYPE html>
<html lang="en">

<head>
  <meta charset="UTF-8">
  <meta http-equiv="X-UA-Compatible" content="IE=edge">
  <meta name="viewport" content="width=device-width, initial-scale=1.0">
  <title>My Website</title>
</head>

<body style="text-align: center;">
  <h1>Welcome to my personal website!</h1>
  <img src="images/mountain.png" alt="picture">
</body>

</html>
error.html
<!DOCTYPE html>
<html lang="en">

<head>
  <meta charset="UTF-8">
  <meta http-equiv="X-UA-Compatible" content="IE=edge">
  <meta name="viewport" content="width=device-width, initial-scale=1.0">
  <title>My Website</title>
</head>

<body>
  <h1>Error page!</h1>
</body>

</html>
Next, on the S3 bucket console, go to Objects and click on Create folder. We will create the folder “images” and will upload the below images into that folder:


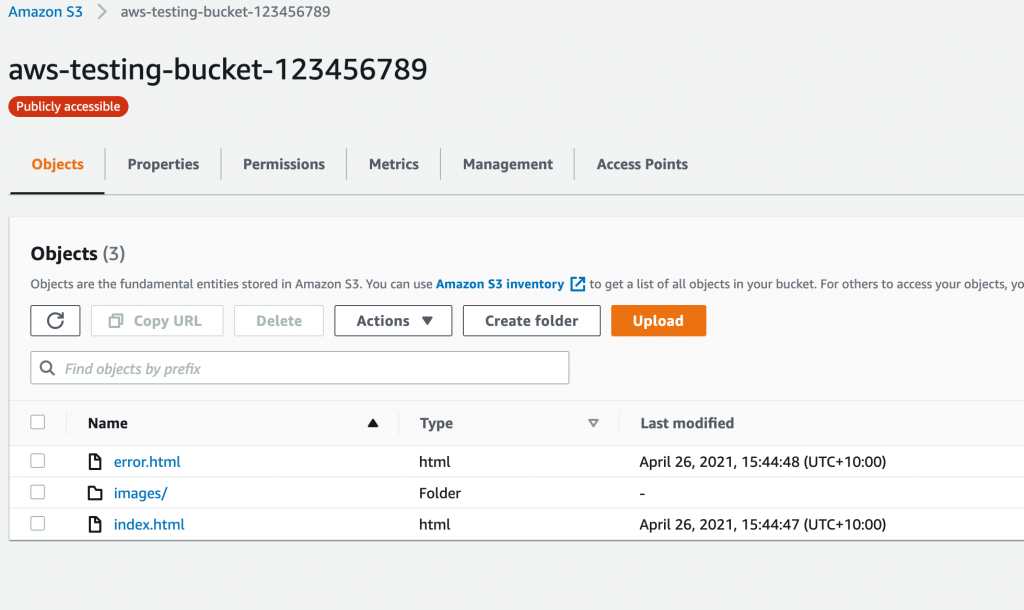
We will end up with the below structure:
Now let’s test the website. On the S3 bucket window, go to Properties, scroll to the bottom and click on the URL provided. This is the “Bucket website endpoint”.
Wait a minute! We are getting a 403 Forbidden error.
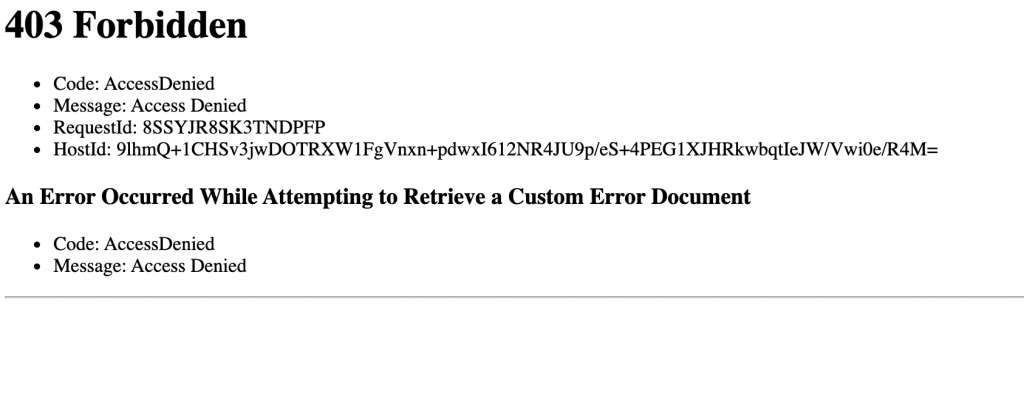
What is happening here?
The reason we are getting this error is because currently, the S3 bucket has the public access option disabled. With the default settings, no one is allowed to view any objects inside the bucket, causing the website to be blocked.
To solve this, we are going to make our S3 bucket accessible by everyone.
Go to Permissions tab, under “Block public access (bucket settings)” click on Edit. Uncheck “Block all public access” and click on Save changes.
We are not done yet. We also need to add an S3 bucket policy that will allow all Principals access to the S3 bucket and its objects.
- Under Bucket Policy, choose Edit.
- To grant public read access for your website, copy the following bucket policy, and paste it in the Bucket policy editor.
{
    "Version": "2012-10-17",
    "Statement": [
        {
            "Sid": "PublicReadGetObject",
            "Effect": "Allow",
            "Principal": "*",
            "Action": [
                "s3:GetObject"
            ],
            "Resource": [
                "arn:aws:s3:::Bucket-Name/*"
            ]
        }
    ]
}
Replace the “Bucket-Name” with your bucket name. In my case, it is “aws-testing-bucket-123456789”
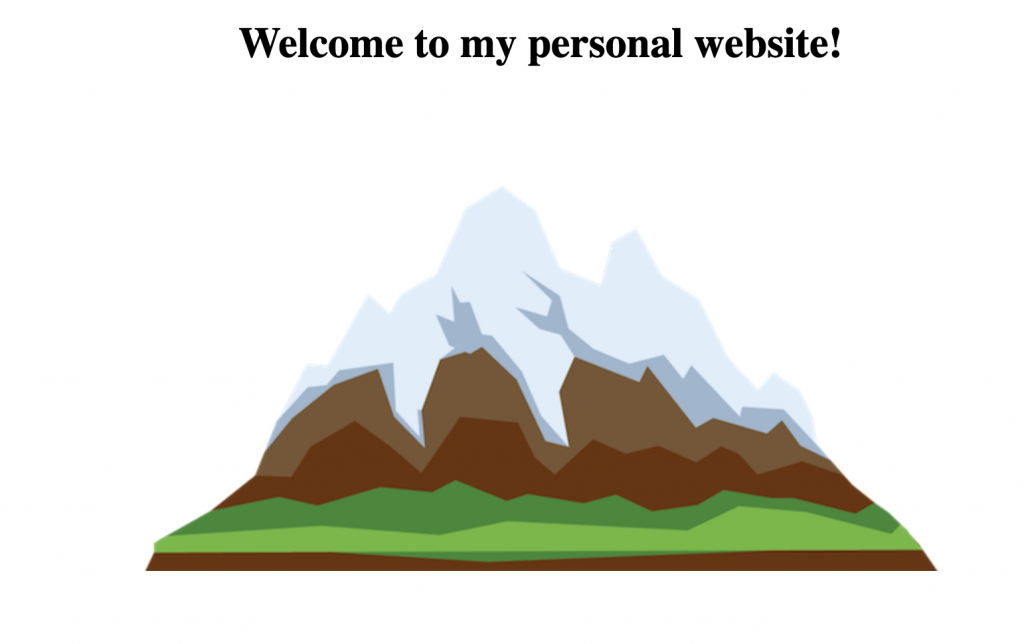
Now if you try to open the S3 website endpoint URL again, you should get something like that:
3. Create CloudFront Distribution
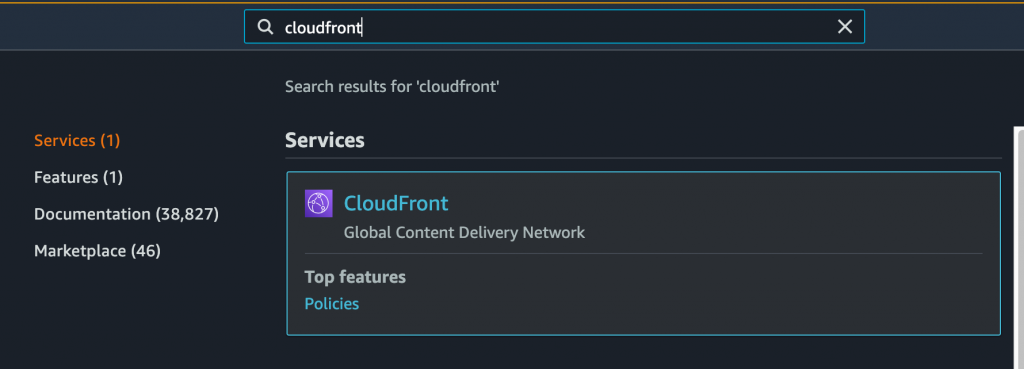
Go to the Amazon CloudFront Console by using the search feature.
Then click on Create Distribution. You create a CloudFront distribution to tell CloudFront where you want content to be delivered from, and the details about how to track and manage content delivery.
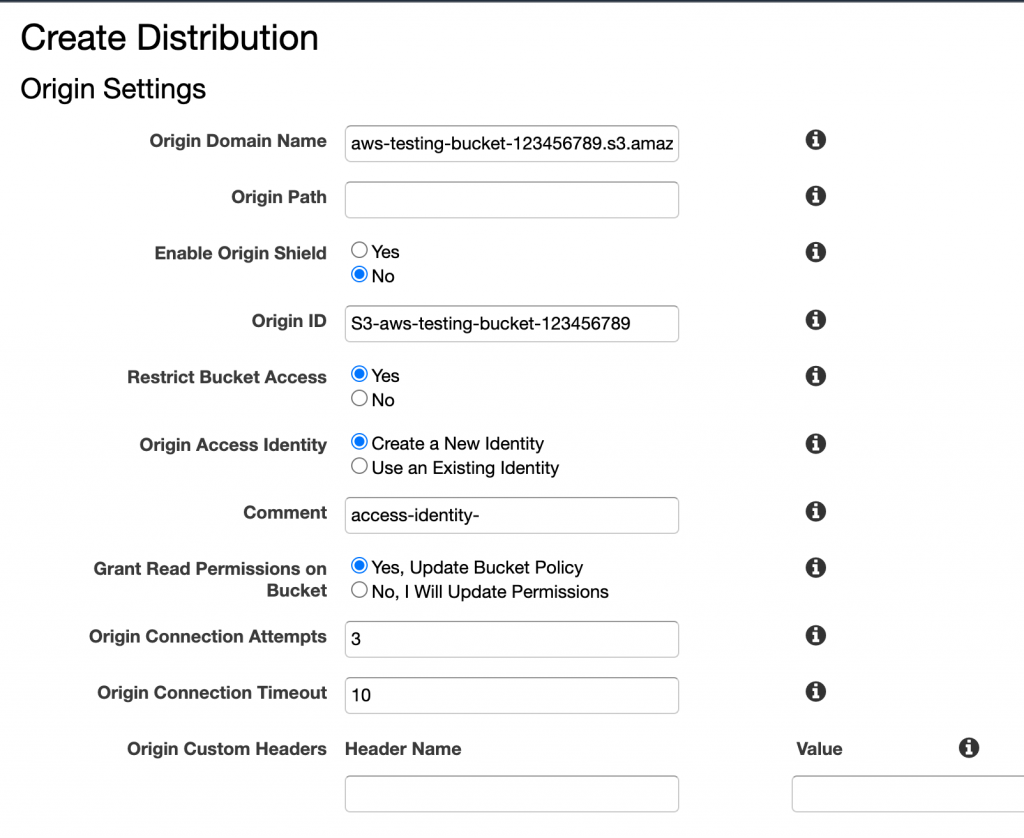
We will choose the origin to be our S3 bucket that we created earlier.
Make sure to choose “Yes” to Restrict Bucket Access. This option will prevent users from directly accessing the S3 bucket endpoint URL, and will force the origin to be served via CloudFront only.
We will also tell CloudFront to update the bucket policy for us, so choose “Yes” to Update Bucket Policy. CloudFront distributions have origin identities associated with them. An origin identity is like a special CloudFront user. This way, you can restrict S3 bucket access only to that special user.
We can go ahead to the next steps once the distribution is in Deployed state.

Now head over to your S3 bucket. Go to the Permissions tab. You will notice an additional policy has been added.
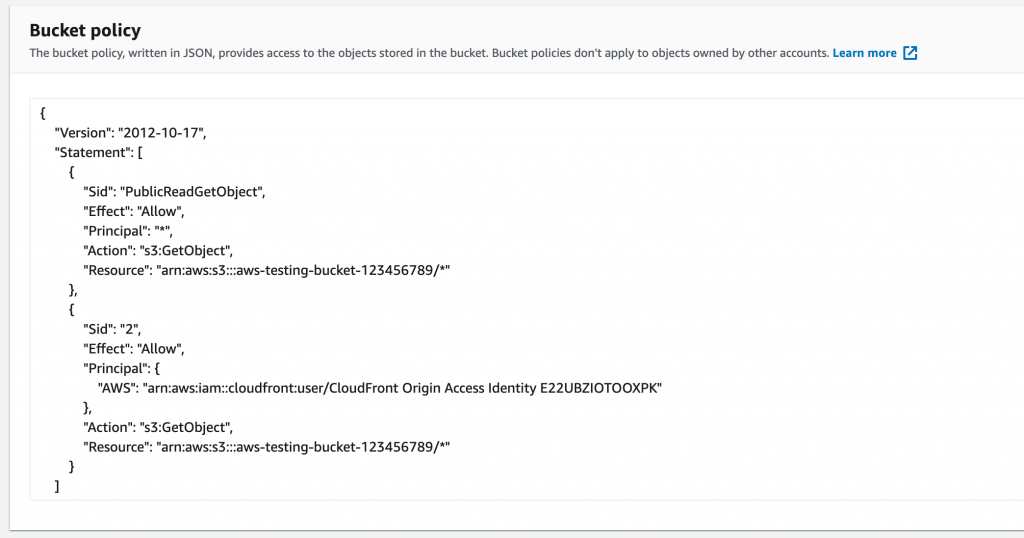
The statement with “Sid” : 2 tells the S3 bucket to allow the special CloudFront user to access the S3 objects. In order to restrict access only via CloudFront, we need to remove the first policy snippet that we added earlier.

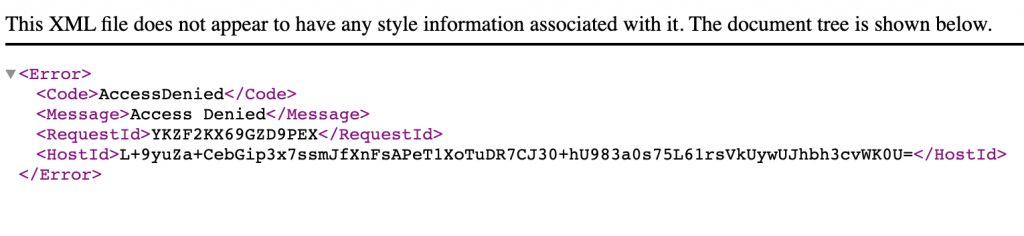
Now, if you try to browse to your S3 website endpoint, you will get that 403 Forbidden error.
However, let’s try browse to the website using CloudFront. Go to your CloudFront distribution, under the General tab, look for the domain:
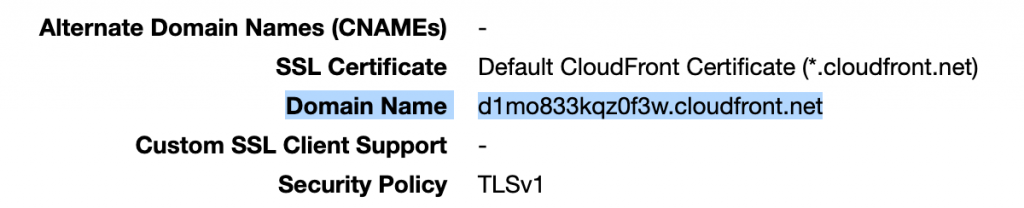
Let’s browse to that domain, oh shoot! Now what?!
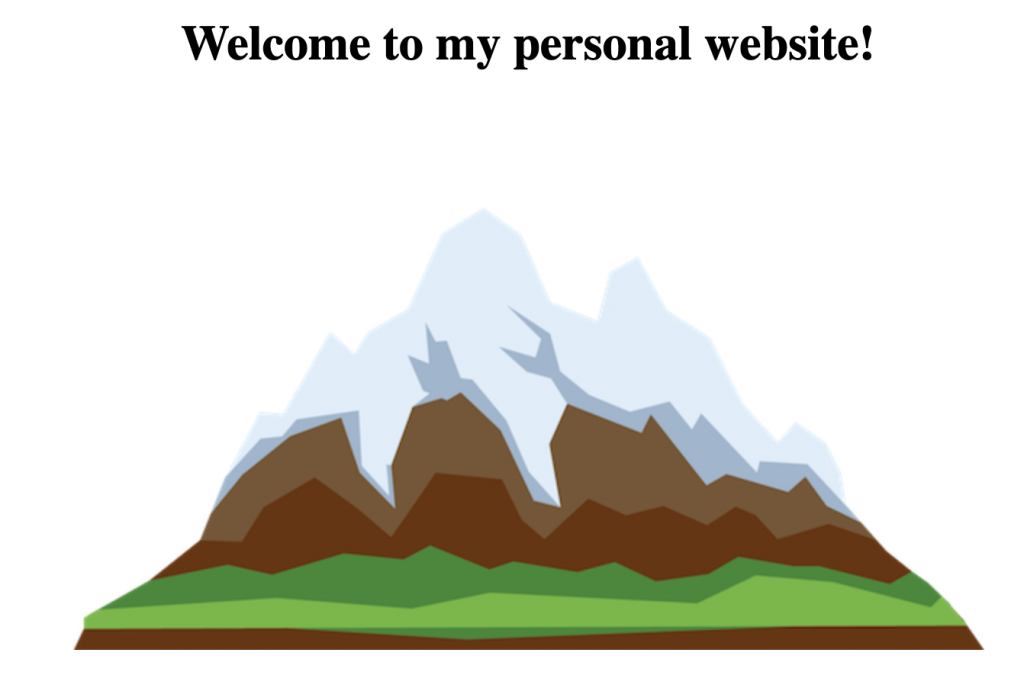
This is expected. The URL is working as expected. This is because we have not set any default root object. Notice that if you add /index.html to your CloudFront URL (https://d1mo833kqz0f3w.cloudfront.net/index.html), you will get the “Welcome” page.
So to define a default root object, head over to your CloudFront distribution, click on Edit, and add “index.html” as your “Default Root Object”. Wait till the distribution is in Deployed state. Now if you browse to your CloudFront URL, you will see your website.
4. Testing CloudFont Caching
One of the purposes of using CloudFront is to reduce the number of requests that your origin server must respond to directly. With CloudFront caching, more objects are served from CloudFront edge locations, which are closer to your users. This reduces the load on your origin server and reduces latency.
So what if we try to modify an object in the S3 bucket, which is already cached at the edge location? Let’s find out.
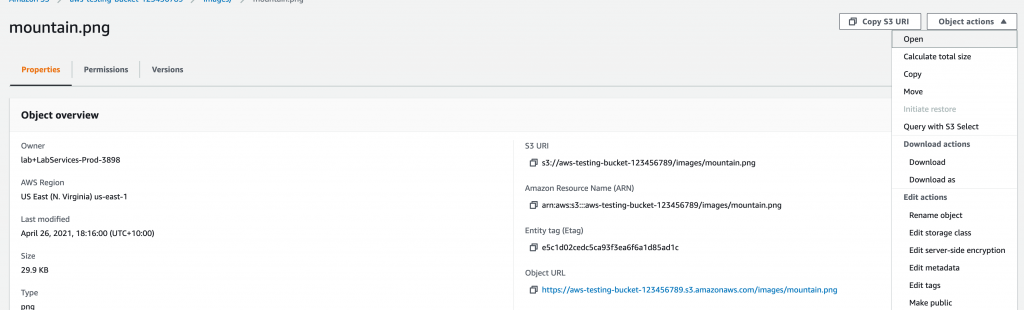
Head over to the S3 bucket and let’s try to upload the image below. I’ve named it “mountain.png”. We will replace it with the object already in the bucket.

Once uploaded, open the newly uploaded image directly from the S3 bucket to make sure the old image has been replaced.
Now, we will try browse to the CloudFront URL again to see our new image replacing the mountain photo.
Something is wrong. Nothing changed. That is because when CloudFront tries to serve the website to the user, it can see that the website and images are cached at the edge location, so it doesn’t need to fetch the newly uploaded image.
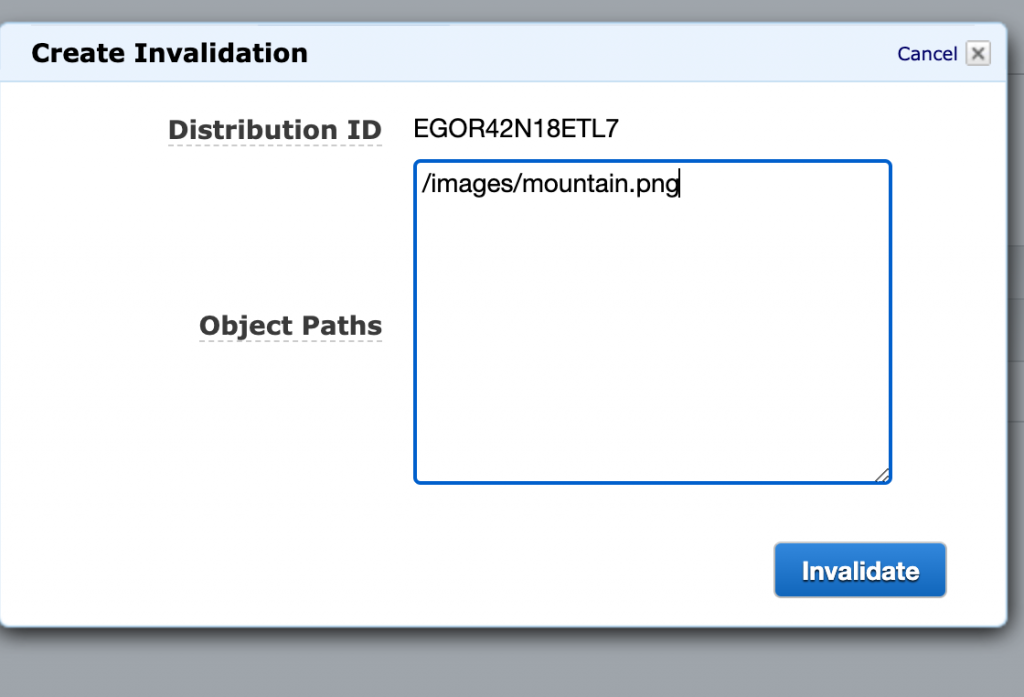
To fix this, we need to purge the cached image at the edge location level.
We will go to the CloudFront Console, and click on the Invalidations tab. We will create a new invalidation. Invalidations allow us to delete cached files/objects located at the edge locations.

Now let’s try browse to our website one more time.

That looks much better!
Conclusion
In this quick tutorial we learned how to host a static website on S3, and how to serve that website via CloudFront. We also learned how to restrict access to S3 objects to only have the website be served via CloudFront. We learned how objects are cached and how to invalidate those caches in case we upload and replace older objects on the origin.
If you have any questions please leave a comment. I’d be happy to provide additional information if needed.
Leave a Reply