
In this tutorial, I will go over in details on how to migrate WordPress website from cPanel hosting to Amazon Lightsail on Amazon Web Services (AWS). This applies to Namecheap, HostGator…
I decided to write this tutorial when I wanted to migrate a website for a client and I could not find any detailed tutorials that specify exactly how to do that, especially that my client’s data size that needed migration was almost 32 GB in size.
I will be explaining in details how to migrate your WordPress website from Namecheap, GoDaddy, Hostgator or any cPanel to a dedicated AWS Lightsail instance.
Let’s get started.
1. Create a Full Backup of Your WordPress Site
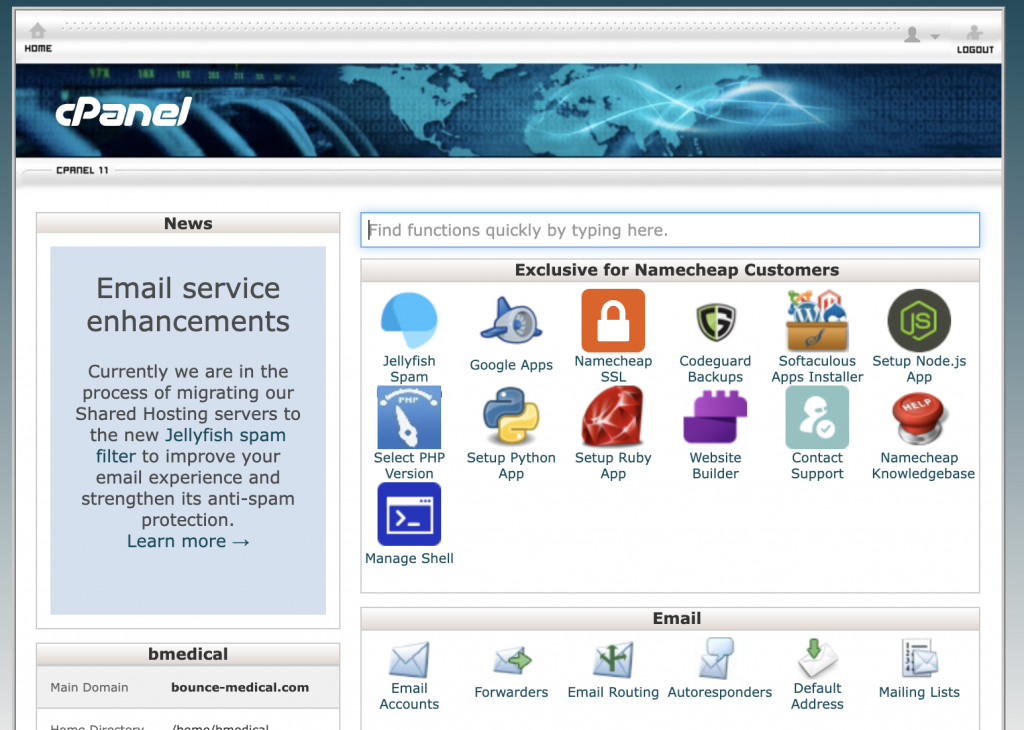
First, let’s login to our cPanel and create a full backup. A full backup will compress the whole WordPress site including its databases into a single tar.gz file which we can easily transfer to our new AWS Lightsail instance.
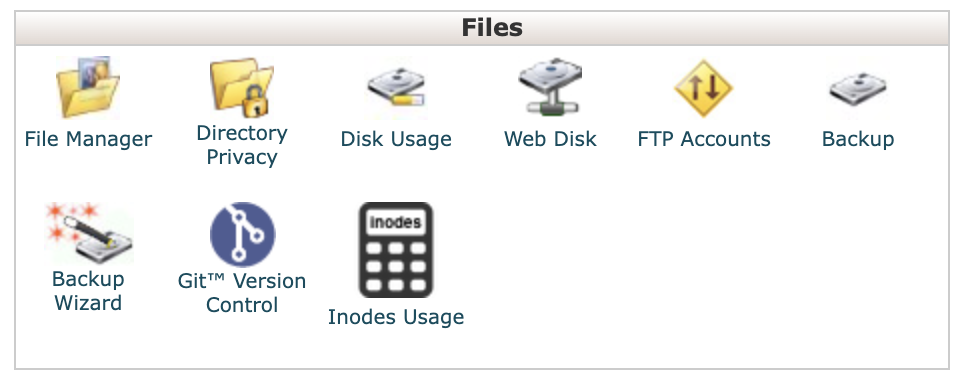
Under the Files section, click on Backup.
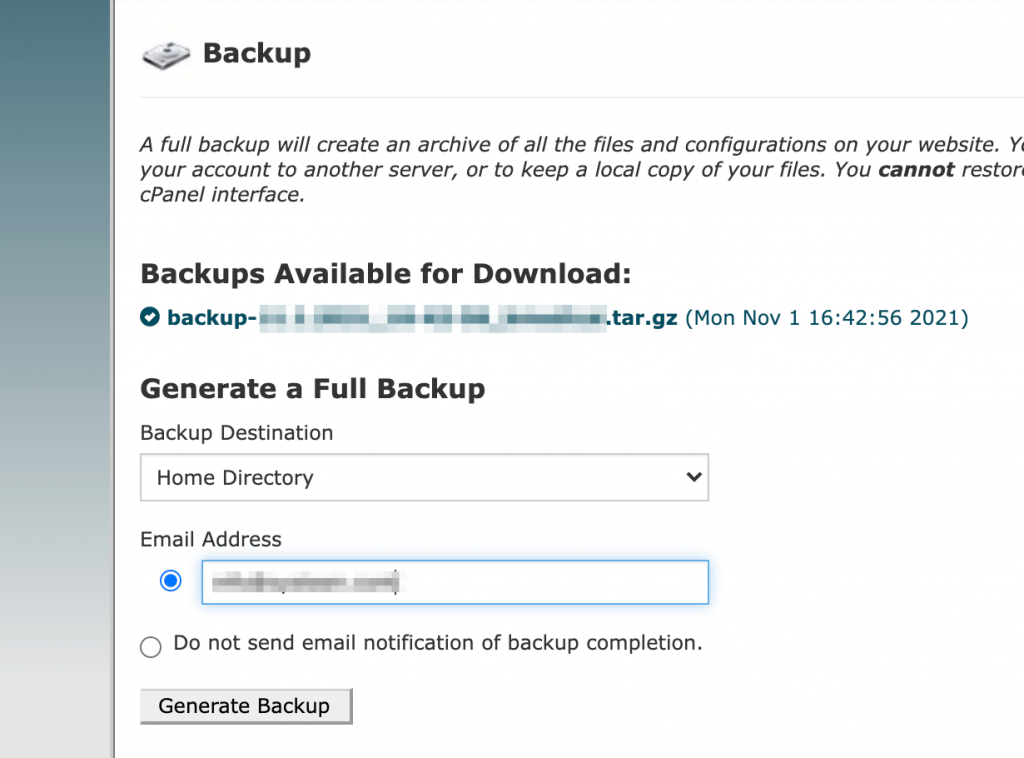
Click on Download a Full Account Backup.
2. Enable SSH Access on your cPanel Namecheap or HostGator (Source)
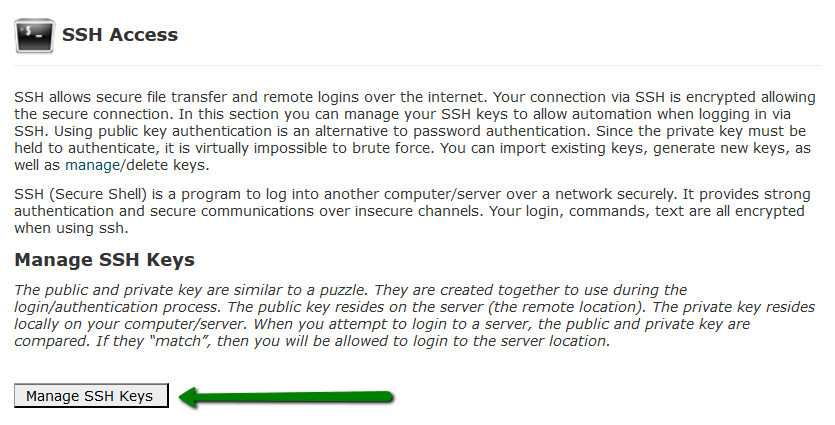
Once the backup is created, go back to the cPanel homepage and click on Manage Shell. We will enable SSH access. You will know why in a second.
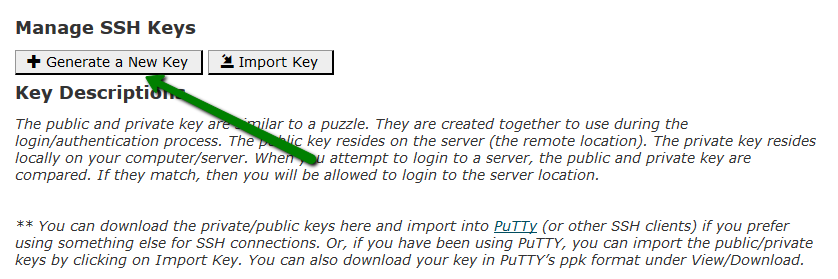
On the SSH Access tool on cPanel, click on Manage SSH keys
On the next page, you can either import the existing pair of keys or generate a new one.
In order to generate a new SSH key pair click on the Generate a New Key option:
On the generator page, specify the password (passphrase), Key Name, Key Type and Size.
The maximum allowed DSA key size is 1024 which is not enough to guarantee its security nowadays. That’s why it is advised to only use RSA with 2048 bits:
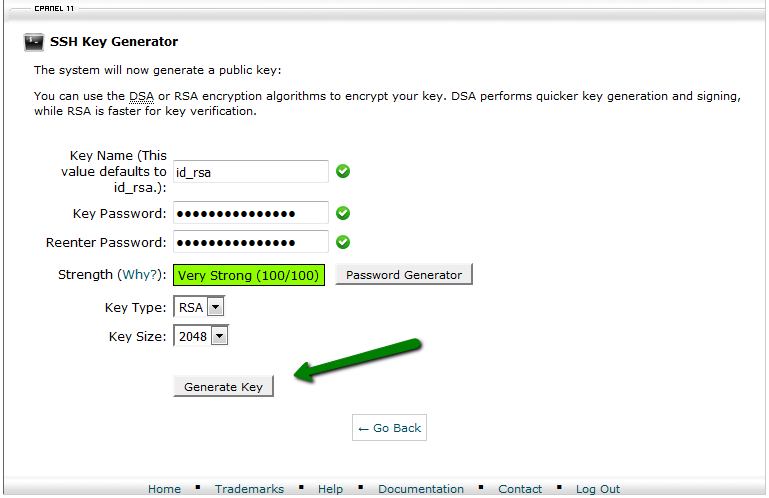
Once everything is set, click Generate Key.
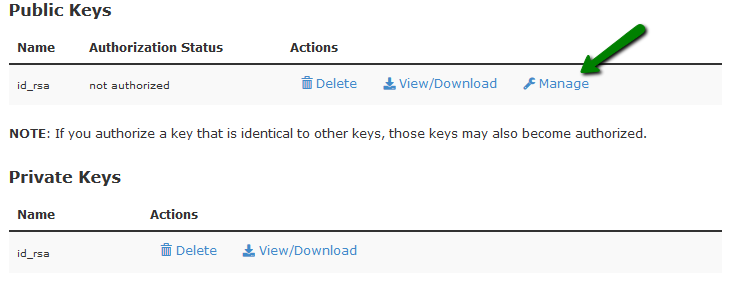
Now you should see both private and public keys you created.
In order to authorize SSH access to your hosting account by the private key you created, click on the Manage option:
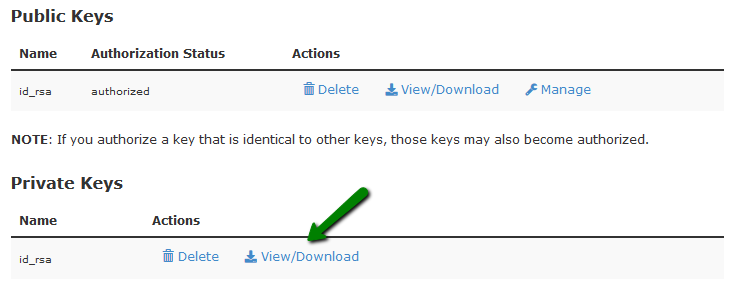
On the next page, click on the Authorize button:

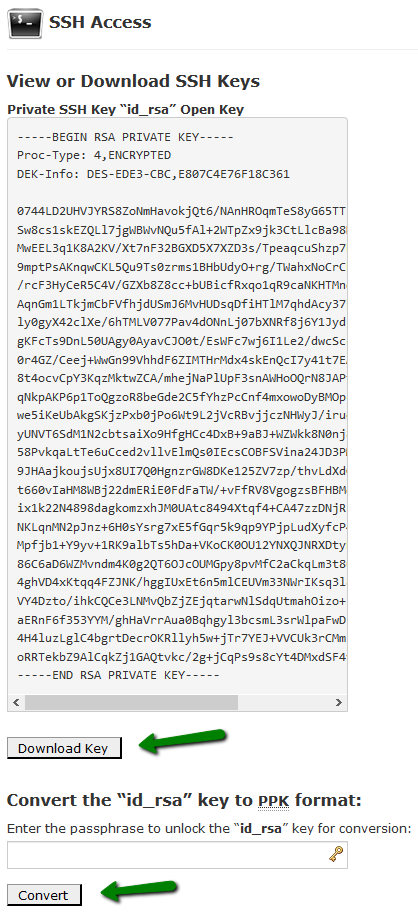
You can view and download keys you have in cPanel by clicking on the View/Download button in the Private Keys section:
Click on Download Key (it will be saved in a simple text document on your side) or just copy/paste the provided key if needed. You can also convert your key into PuTTY’s ppk format using the Convert option:
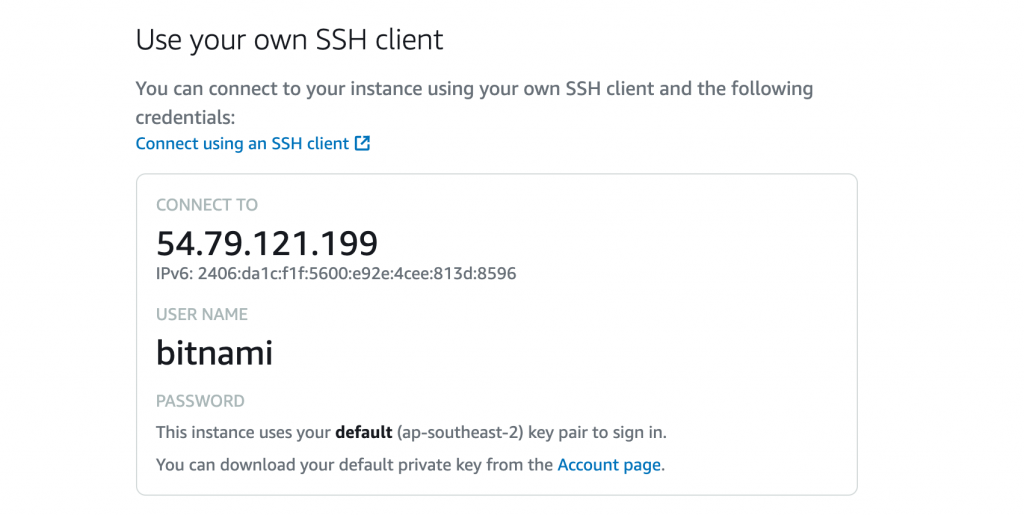
Go to the Mange SSH tool cPanel and take note of the server IP address, the cPanel user, and the SSH port.

3. Launch an Amazon Lightsail Instance (Destination) to Migrate to
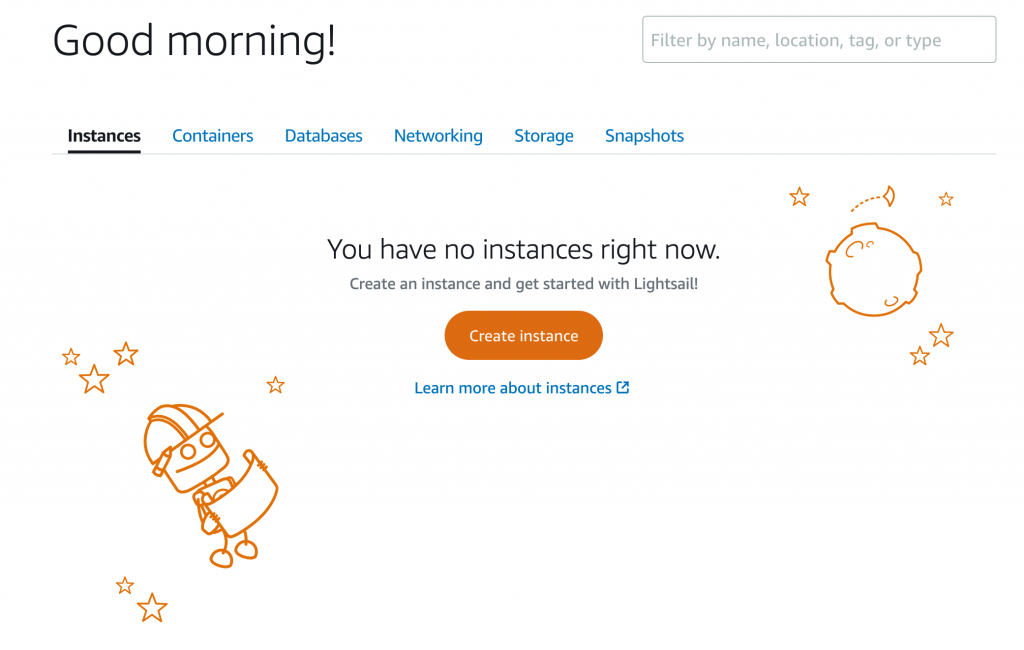
Let’s get our destination instance ready. On your AWS account, search for Lightsail.
Click on Create Instance
For Platform, choose Linux/Unix, and for blueprint choose WordPress.
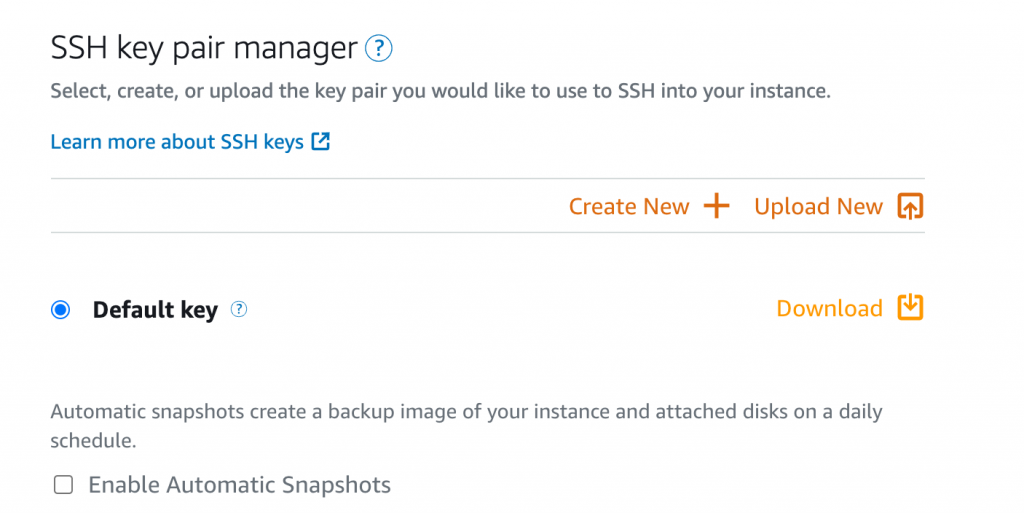
You can use the default SSH key pair or create a new one. I’ll stick with the default for now.
Make sure you download your key pair. You won’t have that option later.
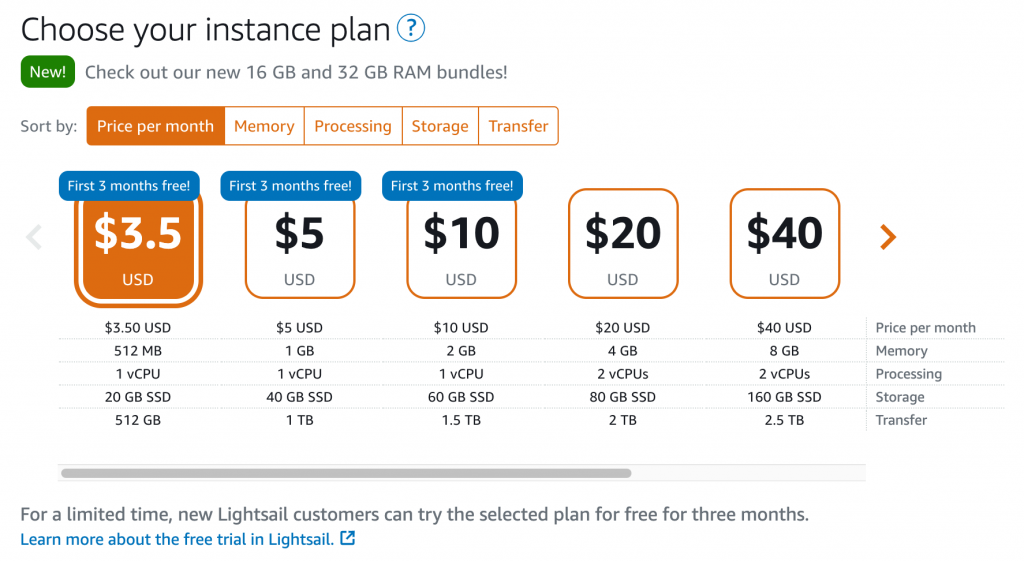
Choose your instance plan then click on Create Instance.
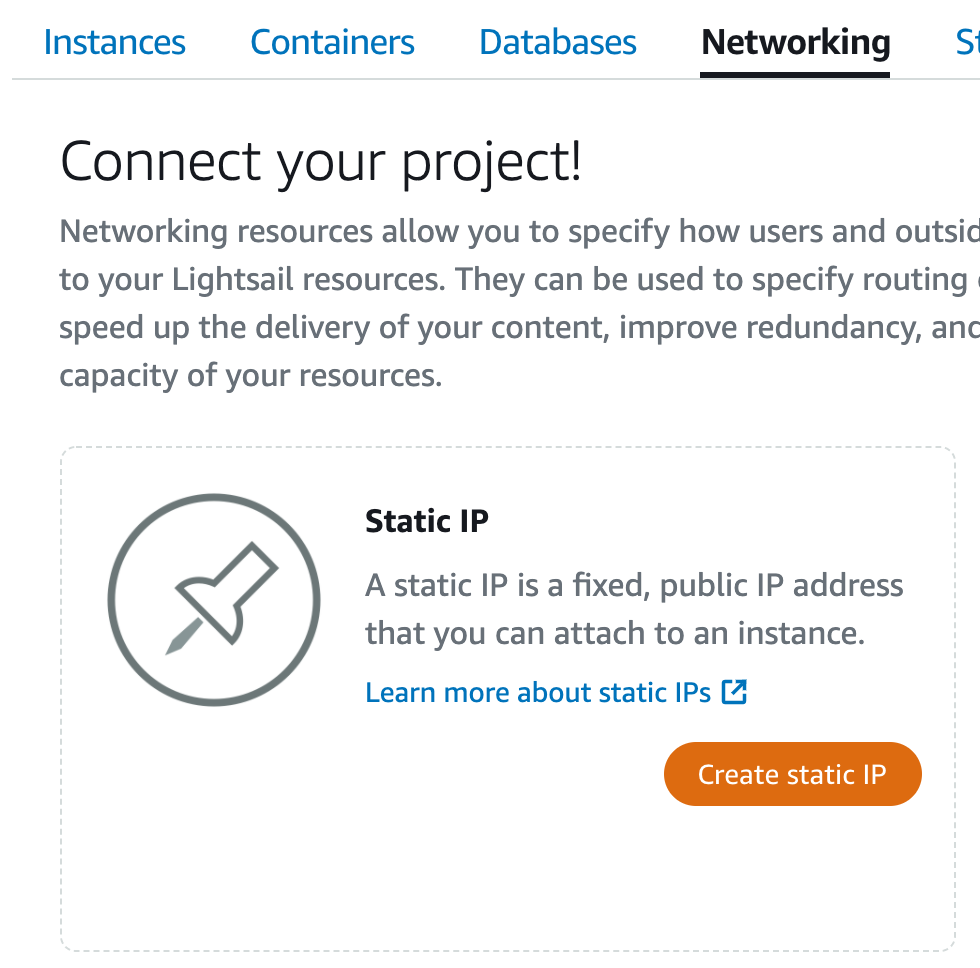
You will definitely consider using a Static IP. This will avoid the IP of your instance changing if it is stopped and then started for any reason. Click here to learn how to Create a static IP and attach it to an instance in Amazon Lightsail
Once the instance is provisioned, the next step is to get that IP address so we can connect to the instance.
On the Lightsail homepage, click on the three dots next to the instance name and then click on Manage.
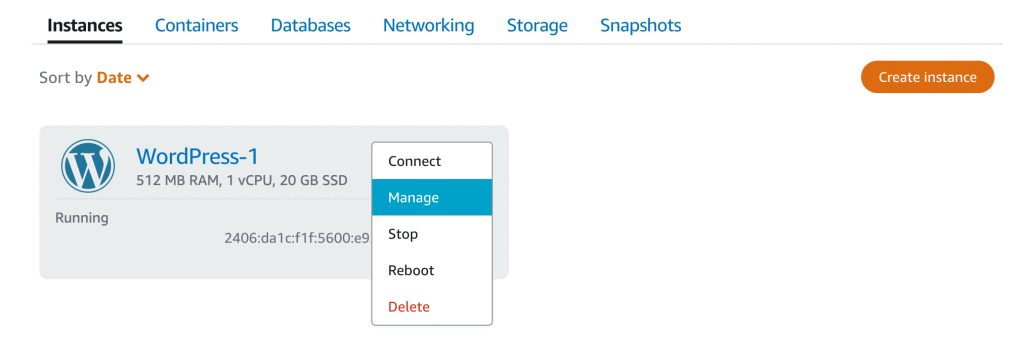
Keep a copy of the IP address somewhere in your notes as we will use it in the next step.
4. Copy the Backup File from Namecheap or HostGator cPanel (Source) to Lightsail (Destination)
Open a new terminal window (I’m using a macOS by the way) and run the below lines. We will use SSH Agent Forwarding feature to connect to the cPanel (HostGator or Namecheap server) using the SSH key we downloaded in step (2), via the Lightsail instance. Yes it sounds a bit complicated but just follow along with me.
$ cd Downloads

$ chmod 400 LightsailDefaultKeyPair-ap-southeast-2.pem

$ chmod 400 id_rsa

$ ssh-add -K id_rsa

$ ssh -A -i LightsailDefaultKeyPair-ap-southeast-2.pem bitnami@54.79.121.199
Linux ip-172-26-9-156 4.19.0-17-cloud-amd64 #1 SMP Debian 4.19.194-3 (2021-07-18) x86_64
The programs included with the Debian GNU/Linux system are free software;
the exact distribution terms for each program are described in the
individual files in /usr/share/doc/*/copyright.
Debian GNU/Linux comes with ABSOLUTELY NO WARRANTY, to the extent
permitted by applicable law.
___ _ _ _
| _ |_) |_ _ _ __ _ _ __ (_)
| _ \ | _| ' \/ _` | ' \| |
|___/_|\__|_|_|\__,_|_|_|_|_|
*** Welcome to the WordPress packaged by Bitnami 5.8.1-18 ***
*** Documentation: https://docs.bitnami.com/aws/apps/wordpress/ ***
*** https://docs.bitnami.com/aws/ ***
*** Bitnami Forums: https://community.bitnami.com/ ***
bitnami@ip-172-26-9-156:~$And we are in! You can also check that you bitnami WordPress site is working fine by browsing to your instance IP.
The WordPress copy on Lightsail has been packaged by an entity called bitnami. The instance is highly optimised and ready to run your WordPress site with high speed and performance.
The next step is to copy the full backup file that we created in step (1) to the Lightsail instance. And to do that, we will be using the SCP tool on Linux along with the SSH Agent Forwarding we mentioned earlier.
In case you are wondering what SSH Agent Forwarding is, it is a feature of SSH which allows us to forward any key we specify and carry it on to the next SSH sessions. This is considered to be a much secure way as we don’t have to copy our SSH key pairs into any other instances.
We will create a backup folder to copy the backup file to. So in the end, the backup file will be located in /home/bitnami/backup
bitnami@ip-172-26-9-156:~$ mkdir backup

bitnami@ip-172-26-9-156:~$ cd backup
Let’s run the below fancy command. This will use SCP to copy the backup file from the Namecheap or HostGator server to your new Lightsail server.
bitnami@ip-172-26-9-156:~/backup$ scp -P <SSH port> <Username>@<Server IP>:~/backup-file.tar.gz .Now let the magic begin.
Once the copy is complete, we will go ahead and extract the file.
$ ls -lh back-file.tar.gz

$ tar -xvf back-file.tar.gz
From the extracted file, what we care about are just two folders:
/backup/backup-file/mysql/ >> Contains the WordPress database.
/backup/backup-file/homedir/ >> Contains the WordPress files and folders.
The Lightsail instance uses bitnami. For bitnami, the folder /opt/bitnami/wordpress/ should contain all the WordPress files and folders.
We will use RSYNC tool to move the files from the backup folder to the bitnami WordPress folder.
Download and install the RSYNC tool by running:
sudo apt-get install rsync -yLet’s start copying the good stuff:
$ sudo rsync --verbose --keep-dirlinks --recursive --progress /home/bitnami/backup/backup-file/homedir/kloudvm/ /opt/bitnami/wordpress/Once the copy is done, we need to fix the permissions for the WordPress directories since they need to be owned by user bitnami but also group daemon.
$ sudo chown -R bitnami:daemon /opt/bitnami/wordpress/

$ sudo chmod g+w /opt/bitnami/wordpress/wp-config.php
5. Import the WordPress Database to MariaDB
Now that we have successfully copied the files and folders, the last step is to import our database (unless you plan to build everything from scratch).
We need to get the bitnami Mysql credentials. To do this, run the following command:
bitnami@ip-172-26-9-156:~$ cat ~/bitnami_credentials

Welcome to the WordPress packaged by Bitnami

******************************************************************************
The default username and password is 'user' and 'S0l9uyvtYev7'.
******************************************************************************

You can also use this password to access the databases and any other component the stack includes.

Please refer to https://docs.bitnami.com/ for more details.

bitnami@ip-172-26-9-156:~$ mysql -u root -p
Enter password:
Welcome to the MariaDB monitor.  Commands end with ; or \g.
Your MariaDB connection id is 10
Server version: 10.3.31-MariaDB Source distribution

Copyright (c) 2000, 2018, Oracle, MariaDB Corporation Ab and others.

Type 'help;' or '\h' for help. Type '\c' to clear the current input statement.

MariaDB [(none)]>
Next, we will do the following. I won’t dive too deep into the the commands, but basically we are creating an empty database, and a new user. Then we are giving access to the database for the user. Finally, we are importing the Mysql backup we have into our fresh database.
Replace the values accordingly. You can get the values from the wp-config.php file in /opt/bitnami/wordpress/wp-config.php
CREATE DATABASE <db name found in wp-config.php>;
CREATE USER '<db user found in wp-config.php>'@'localhost' IDENTIFIED BY '<db password found in wp-config.php>';
GRANT ALL PRIVILEGES ON <db name found in wp-config.php>.* TO '<db user found in wp-config.php>'@'localhost';
USE <db name found in wp-config.php>;
FLUSH PRIVILEGES;
SOURCE /home/bitnami/backup/backup-file/mysql/database-backup-file.sql;
EXIT
Now, we just have to restart the services on our Lightsail service:
sudo /opt/bitnami/ctlscript.sh restartIf you would like to test if the migration actually worked before updating your DNS records, you can modify your local /etc/hosts and add the record manually:
$ sudo vi /etc/hosts

##
# Host Database
#
# localhost is used to configure the loopback interface
# when the system is booting.  Do not change this entry.
##
127.0.0.1       localhost
255.255.255.255 broadcasthost
::1             localhost
52.62.114.249   kloudvm.com

//FLUSH DNS
$ sudo killall -HUP mDNSResponder;sudo killall mDNSResponderHelper;sudo dscacheutil -flushcache
Open a new incognito window in your browser and try open your website.
The process to Migrate WordPress is now complete!
Congratulations! Now you can enjoy a crazy super fast WordPress website, without any of those limitations imposed on you by any of Namecheap or HostGator.
If you feel I have missed any information or if you need any help, just leave a comment and I’ll get back to you as soon as possible!
Leave a Reply